Management Portal
Sites
Any organization in Subsbase has two types of sites - Test Sites and Live Sites.
Test Sites
Any created site is by default a test site; it acts as a pre-live simulation environment to enable the admin to test their site before going to production.
In this stage, the admin has total control to configure their site, where they can invite users/team members with specific permissions to access and manage sites, they can also set integrations and payment providers with different payment methods and currencies for reporting and invoicing.
Live Sites
The Live Sites section includes all the sites that the admin chose to go live with after finishing their configuration and clicking on their "Go Live" button.
When clicking on the "Go Live" button, the admin will have the option to copy users (with their access permissions) from the test site to the live site.
Create Site
To create a new site in your Subsbase organization, go to Sites on the sidebar > click on the "Create Site" button at the top right side > start your site configuration by following the guided steps.
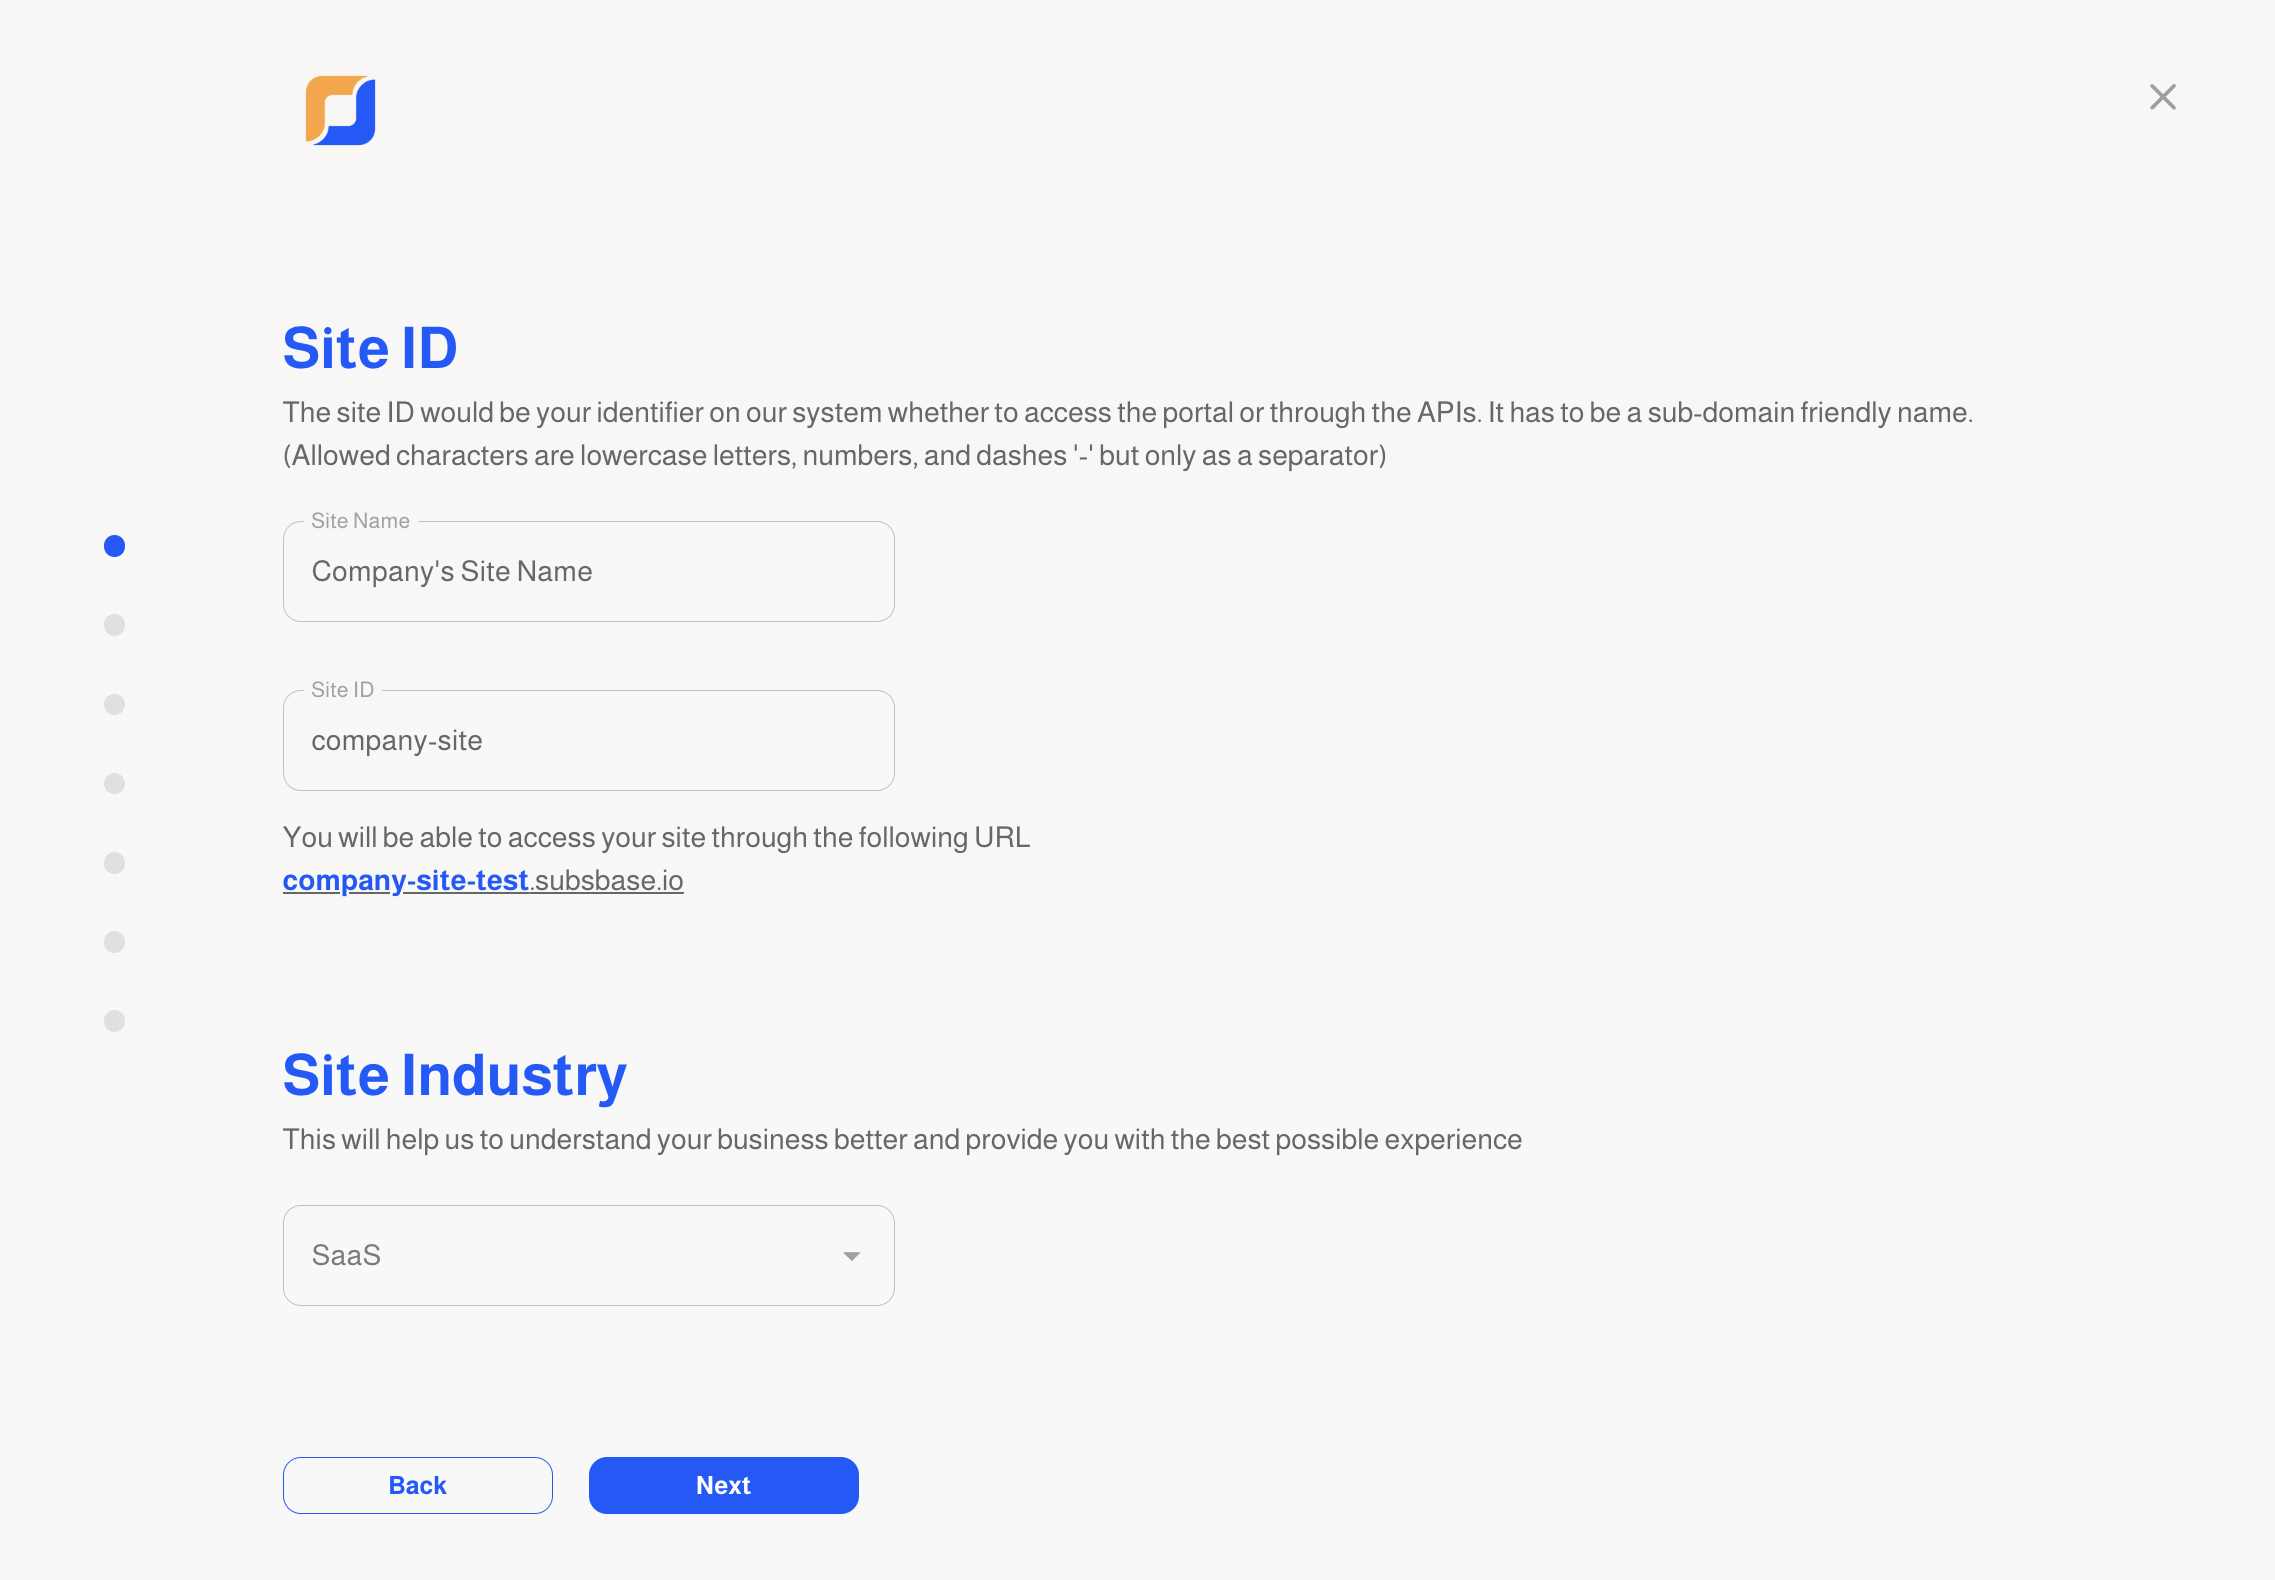
Site Info
Site ID
- The site ID has to be a sub-domain-friendly name, where the allowed characters are lowercase letters, numbers, and the hyphen (-) that can only be used as a separator.
Site Industry
Users select the industry their site belongs to during creation. This information helps us tailor our services to your business needs, ensuring you receive the optimal experience.
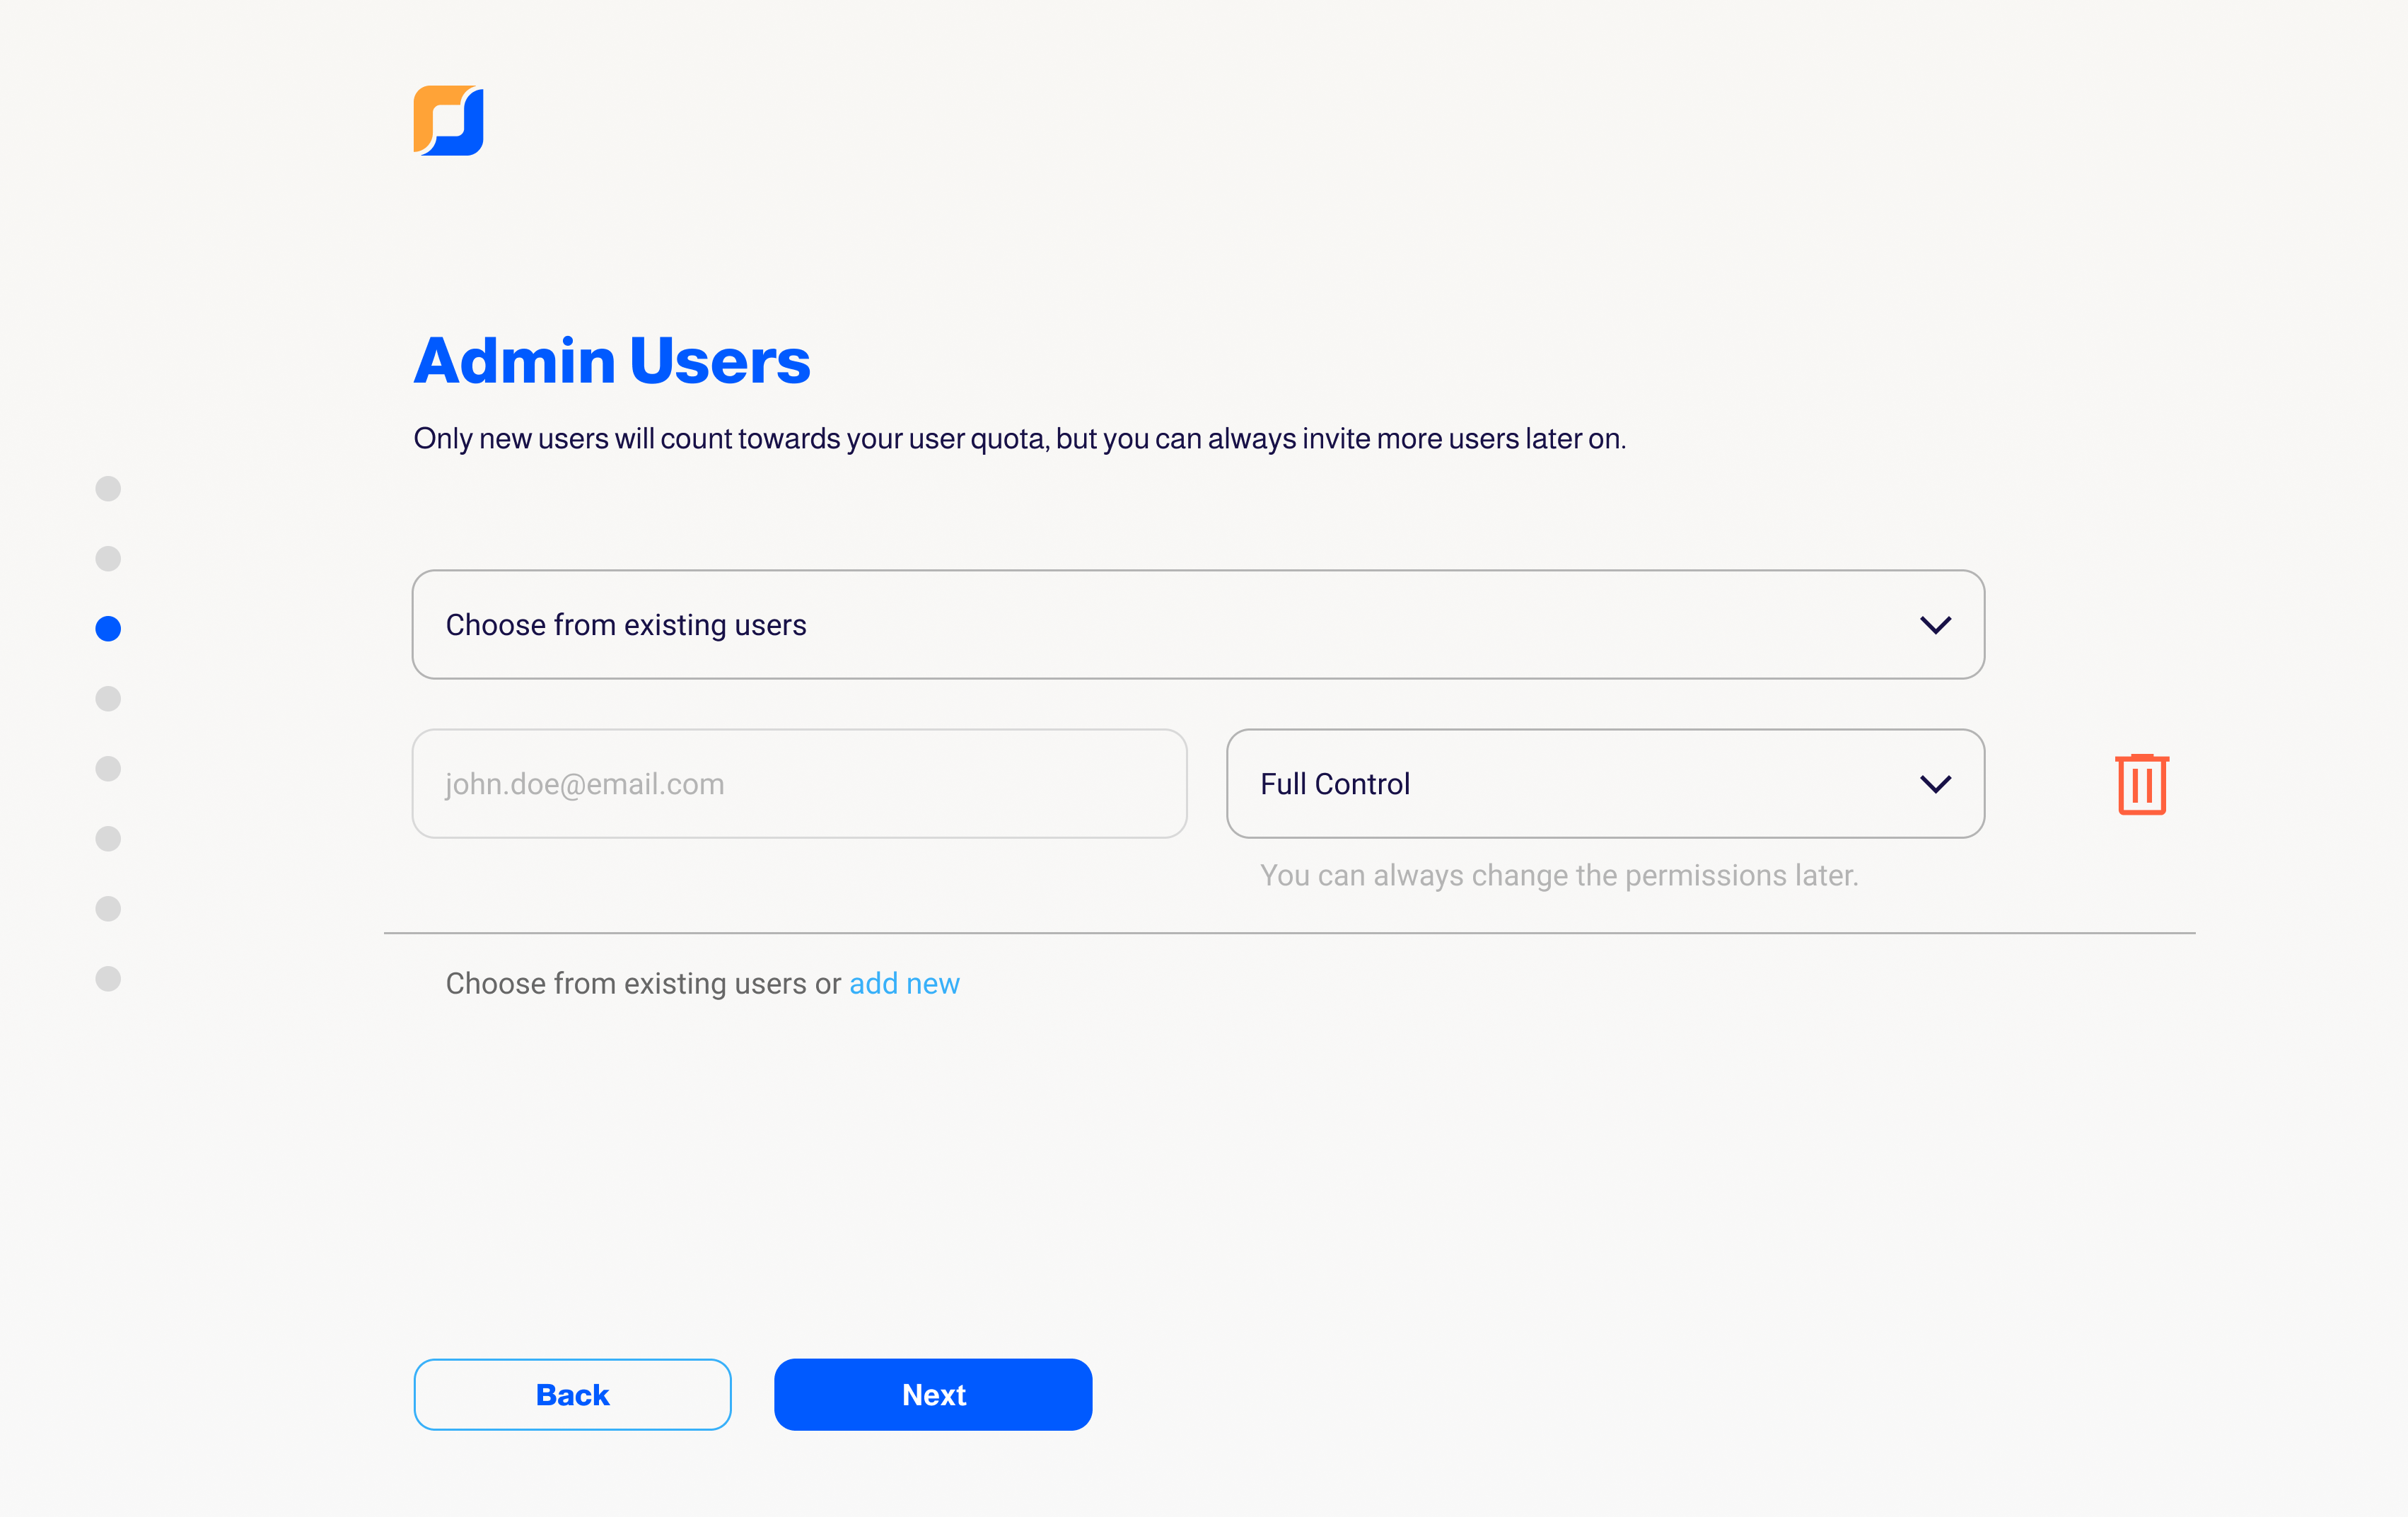
Admin Users
- You can choose from existing users that were added on the organization level, or you can invite new ones by clicking on "Add New".
- There are two types of Site Access:
- Full Control: The added user will have full access to every aspect of the site, enabling them to perform all actions and view all pages on this site.
- No Control: The added user will have no control over the site they have been added to until the admin grants them specific permissions through Sites > Site Users > click on the ellipsis (...) > Permissions. The added user will be also unable to sign in to the site until they have at least one permission.
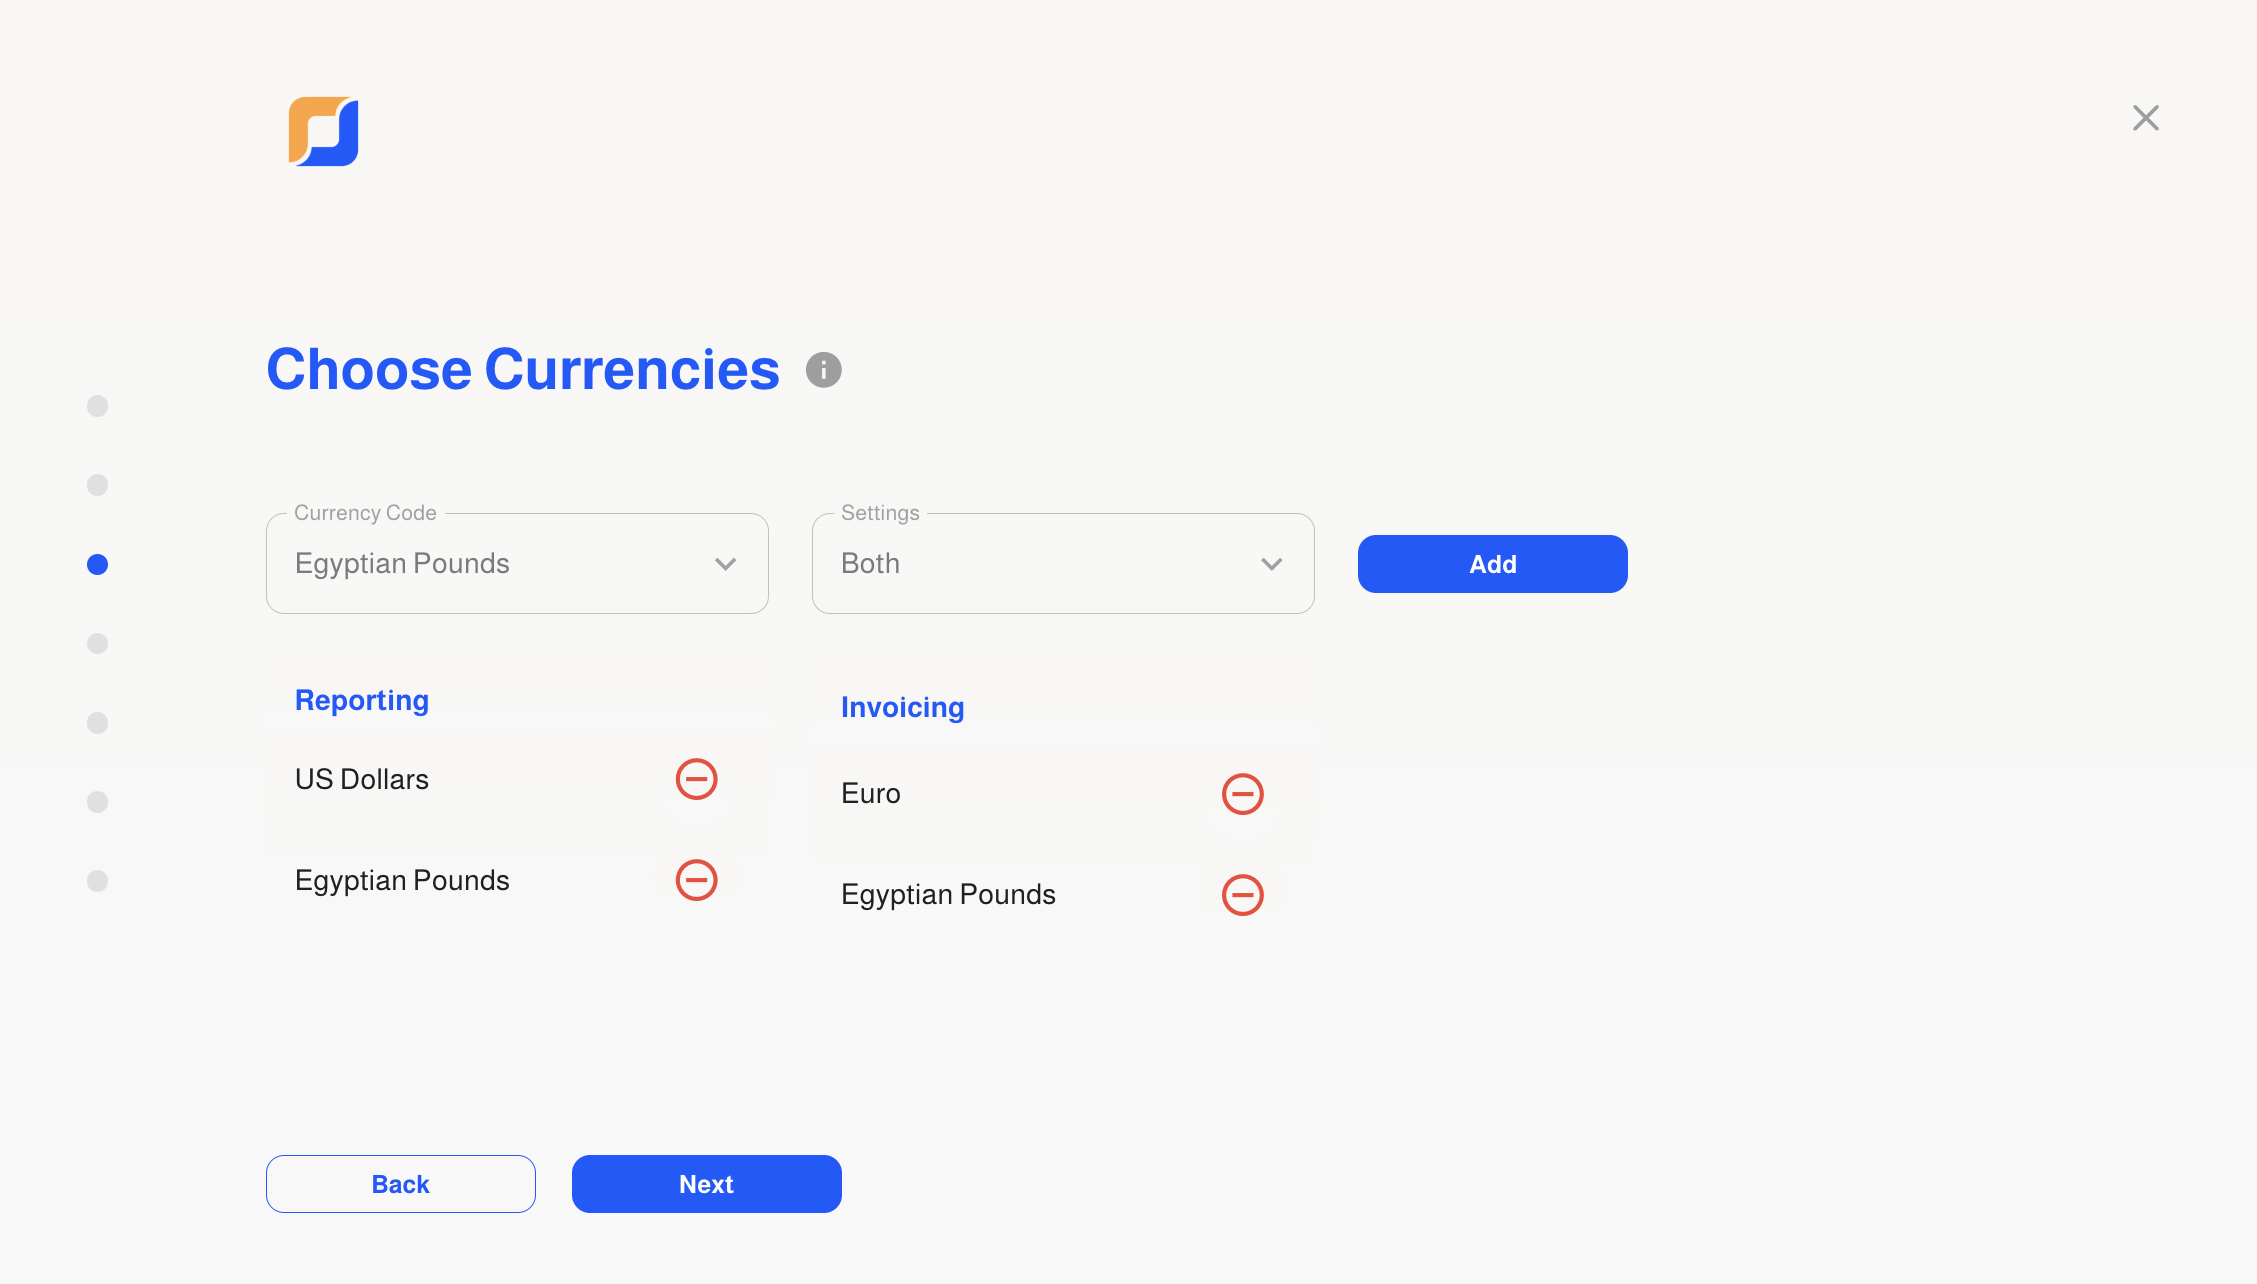
Choose Currencies
- You can choose as many currencies as you want from the "Currency Code" dropdown menu.
- You have two types of currencies, reporting and invoicing:
- Reporting: These are the ones used in the dashboard.
- Invoicing: These are the ones used in the invoices sent to the customers.
Payment Providers
- This step can be skipped during the site creation process, as you can add payment provider(s) to your site later on from Sites page > Payment Methods tab > Manage > choose the payment providers you want for your site.
Payment Methods
- Based on your plan limitations, you have a quota of payment methods you can choose from.
- During your site creation process, if you find an payment method marked, that is due to its selection during the organization configuration – marked as already counted or selected on the organization level.
- Reselecting the marked ones will not affect your quota. Only new payment methods will count toward your quota.
Notification Providers
- Based on your plan limitations, you have an integration quota of notification providers you can choose from.
Notification Providers and Integrations selections count towards the same quota.
- During your site creation process, if you find a notification provider marked, that is due to its selection during the organization configuration – marked as already counted or selected on the organization level.
- Reselecting the marked ones will not affect your integration quota. Only new notification providers will count toward your quota.
Integrations
- Based on your plan limitations, you have a quota of integrations you can choose from.
Notification Providers and Integrations selections count towards the same quota.
- During your site creation process, if you find an integration marked, that is due to its selection during the organization configuration – marked as already counted or selected on the organization level.
- Reselecting the marked ones will not affect your quota. Only new integrations will count toward your quota.
Site Creation Confirmation
Once you complete the site creation process, you will receive a notification on your Management Portal indicating the successful creation of a new site. Additionally, a confirmation email will be sent to you, providing information about the successful creation of your site and including a link to access your Admin Portal site.